# DCMIO features
The following are the features and functions of DCMIO.
* HOME
* STATUS
* CONFIG
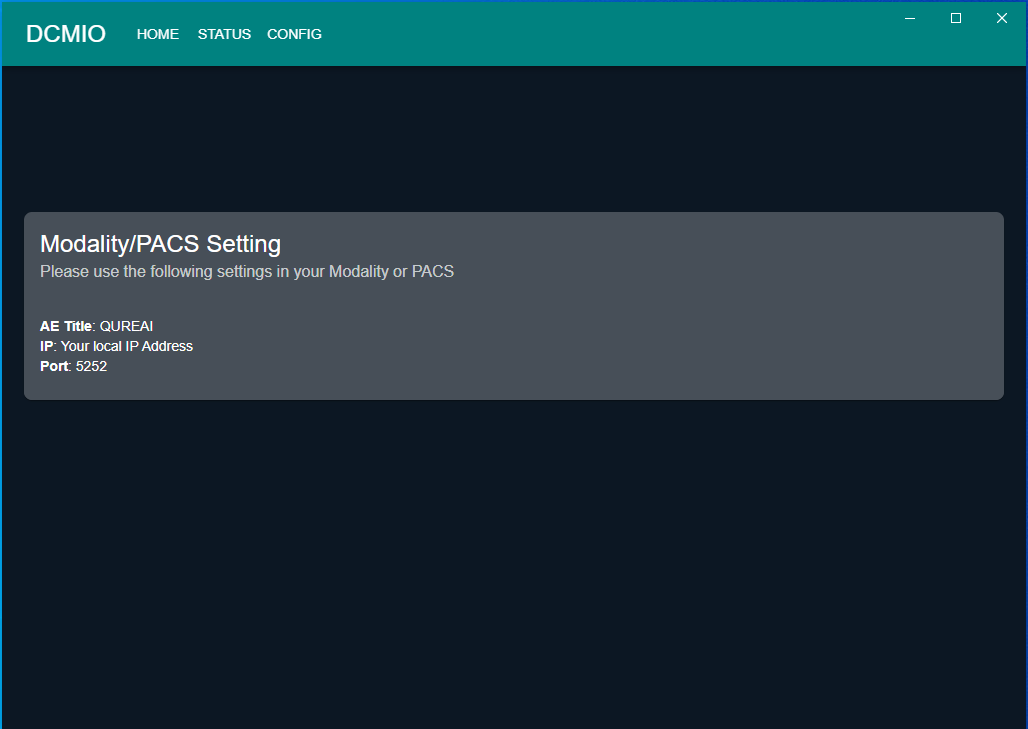
## HOME
The **HOME** feature displays the DCMIO information that must be configured in the user's medical system (modality). Its displays the following information.
1. **AE Title**: QUREAI
2. **IP**: Your local IP Address
3. **Port**: 5252
## STATUS
**STATUS** features enable the user to filter and read the received study's information like patient details, image details, study details, series details, etc. It is also used for monitoring the DCMIO status.
In the **STATUS** page, the user can filter the **FROM DATE** and the **TILL DATE** of the received study. Click on the **FROM DATE** and the **TILL DATE**, then fill in the appropriate dates of the study.
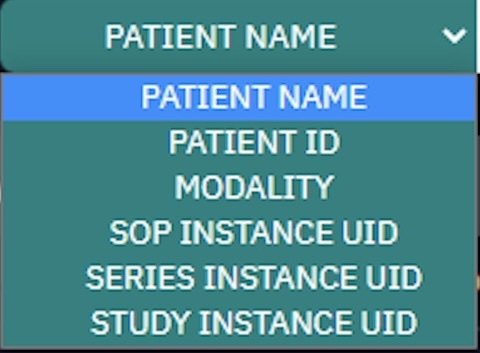
The user can also filter the study's information in two ways.
1. Click on the drop-down arrow and select the appropriate results.
OR
2. Type the appropriate study information in the blank space, then click . The searched results will display.
The Status page consists of two sections that the user can use for reading the study information and monitoring the DCMIO data.
| Study information | Monitoring the DCMIO data |
| -------------------------------------------------------------------------------------------------------------------------------------------------------------------------------------------------------------------------------------------------------------------------------------------------------------------------------------------------------------------------------------------------------------------- | -------------------------------------------------------------------------------------------------------------------------------------------------------------------------------------------------------------------------------------------------------------------- |
|
The following is the study's information that the user can read on the Status page.
IMAGES
SERIES
STUDIES
PATIENTS
Note: For more information about the structure of the study information, see Study Root Hierarchy.
|
The following is the information that the user can monitor the DCMIO processed data on the Status page.
GRAPHS
TASKS
Note: The user must only use GRAPHS and TASKS for monitoring purposes.
|
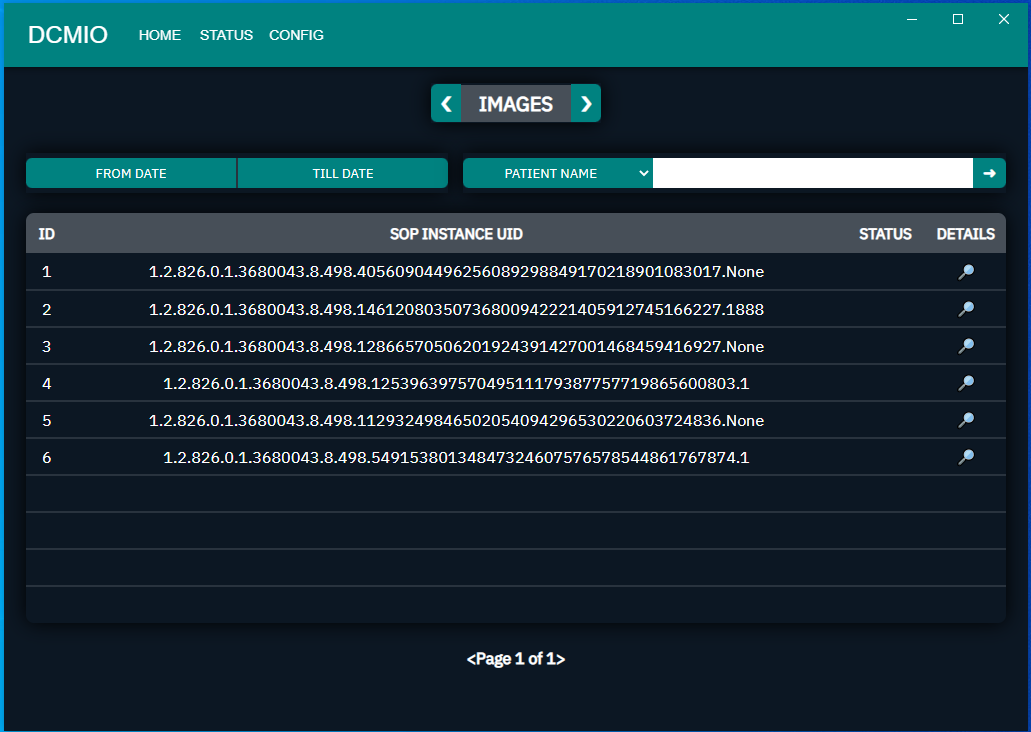
### **IMAGES**
**IMAGES** page displays the sequence **ID** number, **SOP INSTANCE UID, STATUS,** and **DETAILS**. It collects and shows the **SOP INSTANCE UID, STATUS,** and **DETAILS** from the received study.
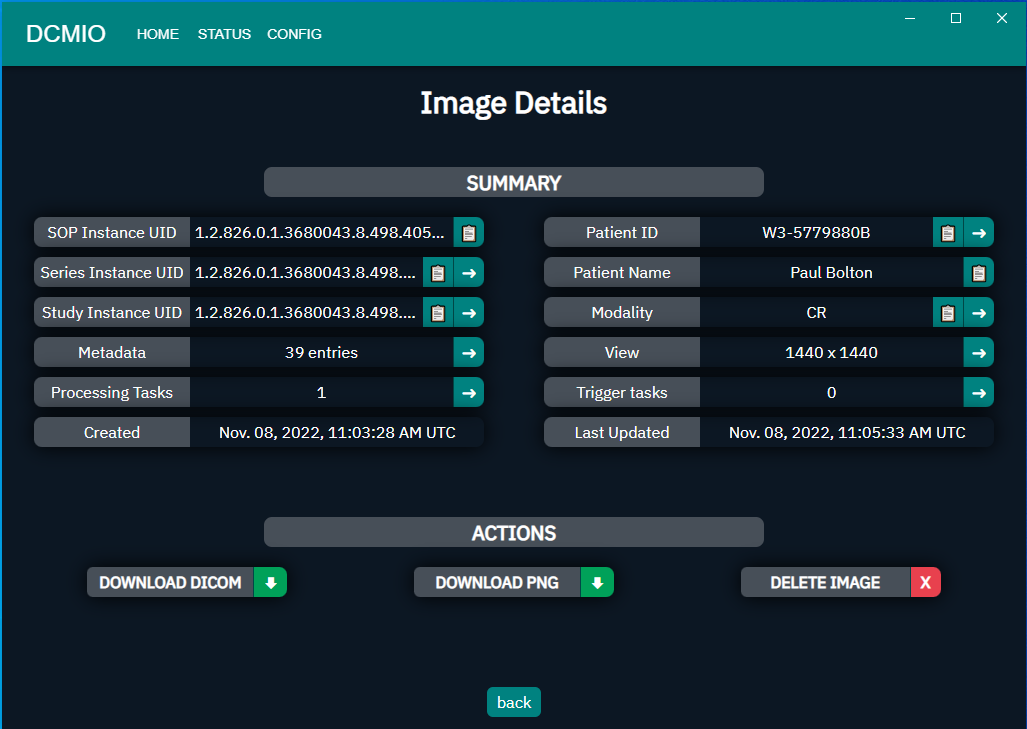
Select to view the study **Image Details** of a particular **SOP INSTANCE UID**. The **Image Details** page displays the **SUMMARY** of the study like **SOP Instance UID**, **Series Instance UID**, **Study Instance UID**, etc., and the **ACTIONS** that can be performed like **DOWNLOAD DICOM**, **DOWNLOAD PNG**, and **DELETE IMAGE**.
The user can view any details from the list of **Image Details** summary of the selected **SOP INSTANCE UID**.
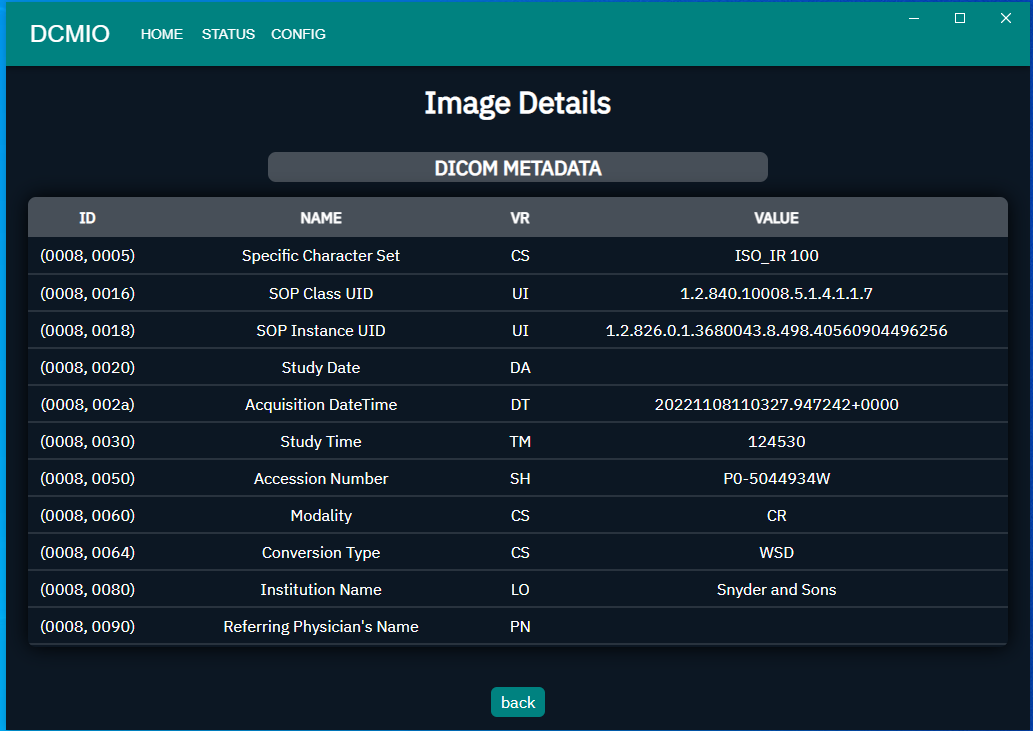
For example, if the user wants to view the **Metadata** details, the user needs to select icon, and the **DICOM METADATA** details will be displayed. Click **back**, to go back to the main **Image Details** page.
**Note**: The user can only view the summary's details if it has icon.
### **SERIES**
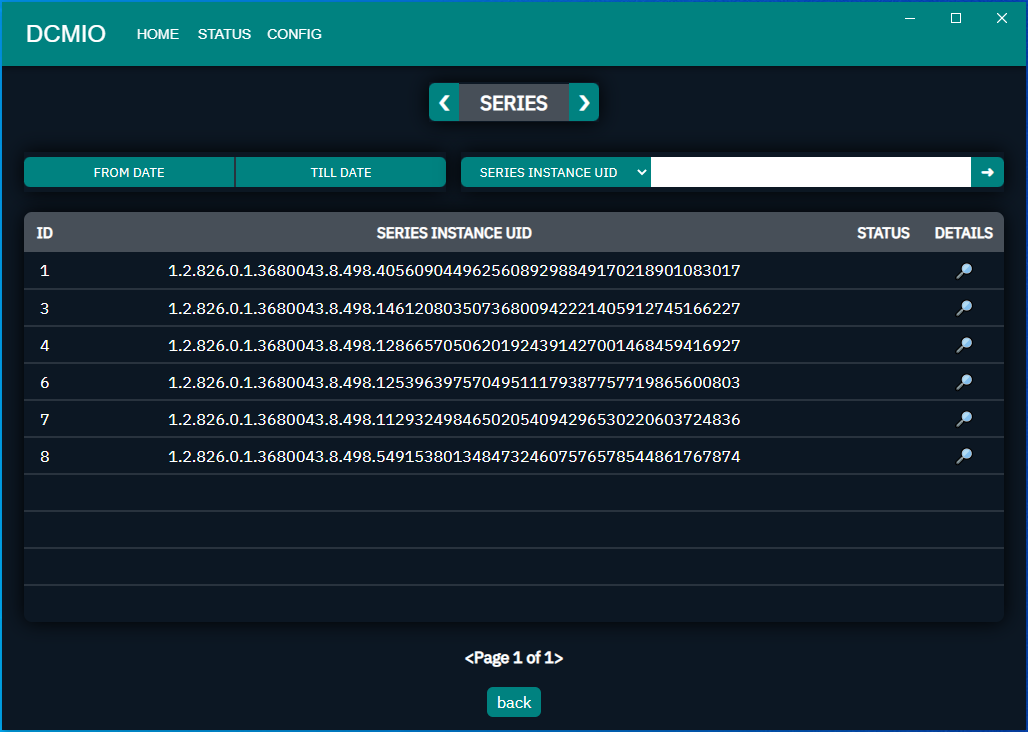
**SERIES** page displays the sequence **ID** number, **SERIES INSTANCE UID, STATUS,** and **DETAILS**. It collects and shows the **SERIES INSTANCE UID, STATUS,** and **DETAILS** from the received study.
Select to view the study **Series Details** of a particular **SERIES INSTANCE UID**. The **Series** **Details** page displays the **SUMMARY** of the study like **Series Instance UID**, **Study Instance UID**, **Instances**, **Patient ID**, etc.
The user can view any details from the list of **Series Details** summary of the selected **SERIES INSTANCE UID**.
For example, if the user wants to view the **Study Instance UID** details, the user needs to select icon, and the **Study** **Details** summary will be displayed. Click **back**, to go back to the main **Series Details** page.
**Note**: The user can only view the summary's details if it has icon.
### **STUDIES**
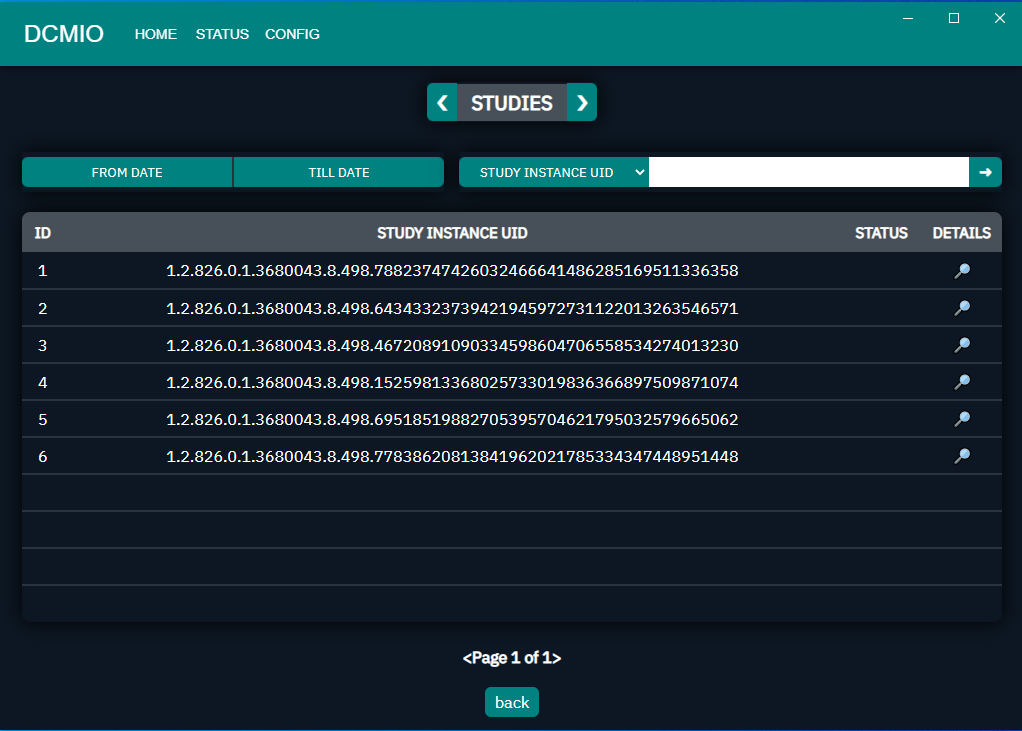
**STUDIES** page displays the sequence **ID** number, **STUDY INSTANCE UID, STATUS,** and **DETAILS**. It collects and shows the **STUDY INSTANCE UID, STATUS,** and **DETAILS** from the received study.
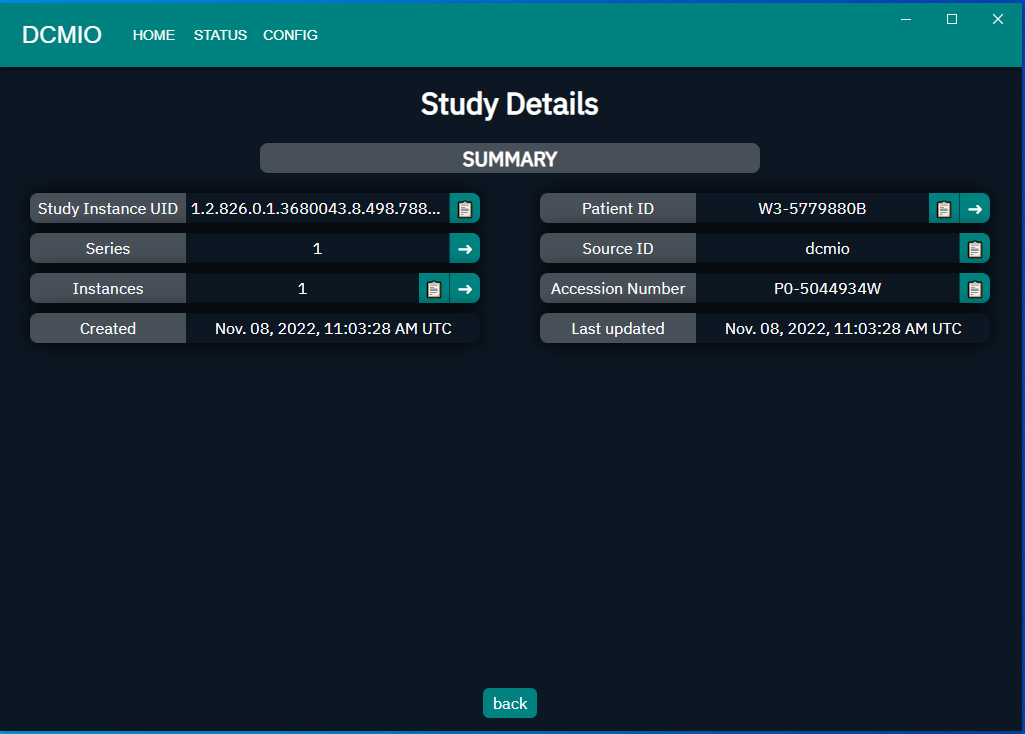
Select to view study **Study Details** of a particular **STUDY INSTANCE UID**. The **Study** **Details** page displays the **SUMMARY** of the study like **Study Instance UID**, **Series**, **Instances**, **Patient ID**, etc.
The user can view any details from the list of **Study Details** summary of the selected **STUDY INSTANCE UID**.
For example, if the user wants to view the **Patient ID** details, the user needs to select icon, and the **Patients** details will be displayed. Click **back**, to go back to the main **Study Details** page.
**Note**: The user can only view the summary's details if it has icon.
### **PATIENTS**
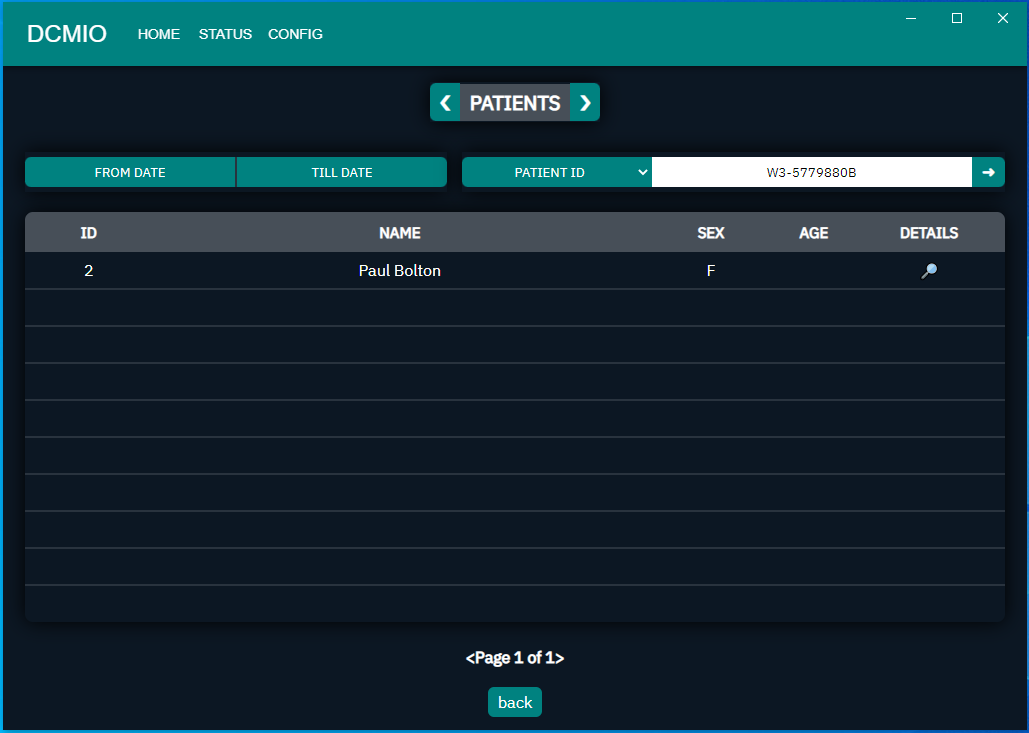
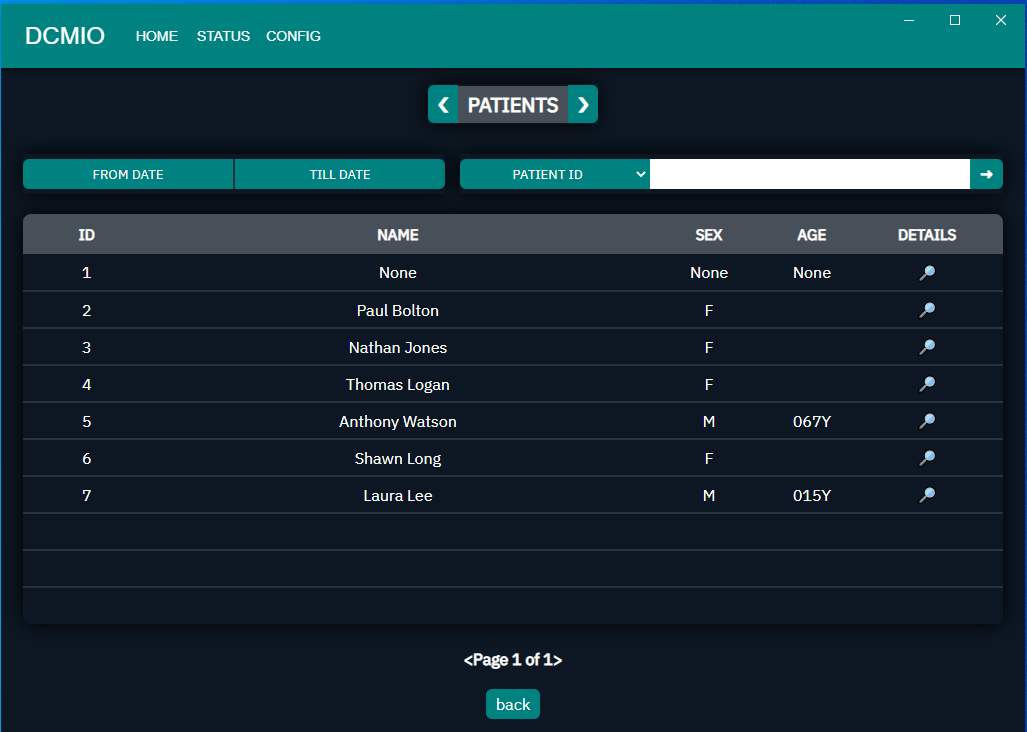
**PATIENTS** page display the sequence **ID** number, the patient's **NAME**, **SEX**, **AGE**, and **DETAILS**. It collects them from the received study.
Select to view the study **Patient** **Details** of a particular Patient. The **Patient** **Details** page displays the **SUMMARY** of the study like **Patient ID**, **SEX**, **Patient** **Age**, etc.
The user can view any details from the list of **Patient Details** summary of the selected Patient.
For example, if the user wants to view the **Patient Name** details, the user needs to select icon, and the **PATIENTS** details will be displayed. Click **back**, to go back to the main **Patient Details** page.
**Note**: The user can only view the summary's details if it has icon.
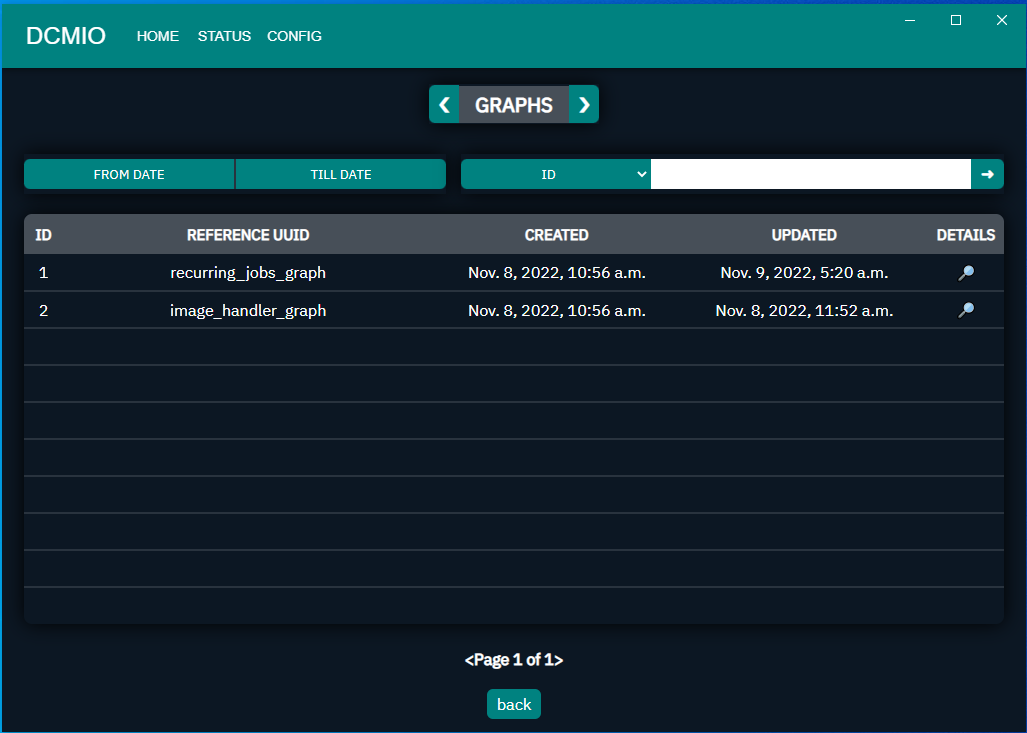
### **GRAPHS**
**GRAPHS** page displays the sequence **ID** number, **REFERENCE UUID**, **CREATED** (date and time), **UPDATED** (date and time), and **DETAILS**. It is used for monitoring the different DCMIO processed data.
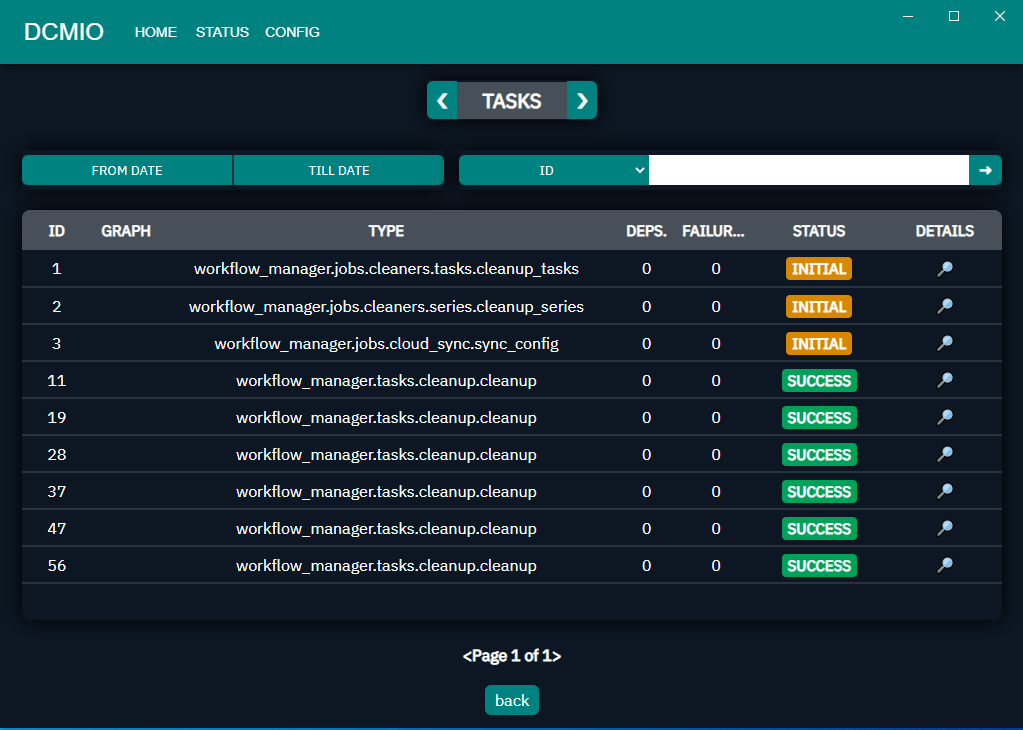
### **TASKS**
**TASKS** page displays the sequence **ID** number, **GRAPH**, **TYPE** of tasks, **DEPS** (Dependencies), **FAILURE**, **STATUS**, and **DETAILS**. It enables the user to monitor the status of the processed image. The following are the three types of status that can be monitored.
1. **INITIAL**: Initial status means that the image is in a queue for processing to the cloud server.
2. **SUCCESS**: Success status means that the image is processed successfully to the cloud server.
3. **FAILED**: Failed status means that the processing of the image has failed.
## **CONFIG**
The **CONFIG** feature enables the user to configure the DCMIO to initiate the communication between DCMIO and Qure's cloud server. Config consists of the following sections.
1. API
2. Filter
3. Upload
4. Publishers
For more information, see [Configuration](broken://pages/UX9Y77oJpiLU5oILK3wV#setting-up-dcmio-configuration).
---
# Agent Instructions: Querying This Documentation
If you need additional information that is not directly available in this page, you can query the documentation dynamically by asking a question.
Perform an HTTP GET request on the current page URL with the `ask` query parameter:
```
GET https://documentation.qure.ai/users-manual/gateway-user-manual/dcmio-features.md?ask=
```
The question should be specific, self-contained, and written in natural language.
The response will contain a direct answer to the question and relevant excerpts and sources from the documentation.
Use this mechanism when the answer is not explicitly present in the current page, you need clarification or additional context, or you want to retrieve related documentation sections.

 . The searched results will display.

 to view the study **Image Details** of a particular **SOP INSTANCE UID**. The **Image Details** page displays the **SUMMARY** of the study like **SOP Instance UID**, **Series Instance UID**, **Study Instance UID**, etc., and the **ACTIONS** that can be performed like **DOWNLOAD DICOM**, **DOWNLOAD PNG**, and **DELETE IMAGE**.